




Use the super easy step-by-step instructions below to learn how to draw Judy Hopps from Zootopia. Follow along with the video, or use the images in this article. By the end of this tutorial, even beginners will have a completed drawing of Judy Hopps from Zootopia!
Love drawing? Keep your artistic streak going and stay "tooned" for more free art lessons by:
- Bookmarking the EasyDrawingTutorials.com homepage for updates
- Subscribing to the EasyDrawingTutorials YouTube channel
- Visiting How2DrawAnimals.com for free animal tutorials
- Visiting How2DrawManga.com for free manga tutorials
This page contains Amazon affiliate links. If you choose to purchase through these links, I earn a small commission at no extra cost to you.
RELATED TUTORIALS
 |
 |
 |
Materials You’ll Need
Before starting, gather these basic drawing supplies:
- Pencil (an HB lead pencil is best for light sketches)
- Eraser
- Black ink pen or marker
- Drawing paper
- Colored pencils or markers
Sketch Guidelines
Building a solid initial sketch is key to getting your character's proportions right. Draw these simple shapes first before adding the details on Judy Hopps. Sketch lightly at first so that it is easy to erase any mistakes.
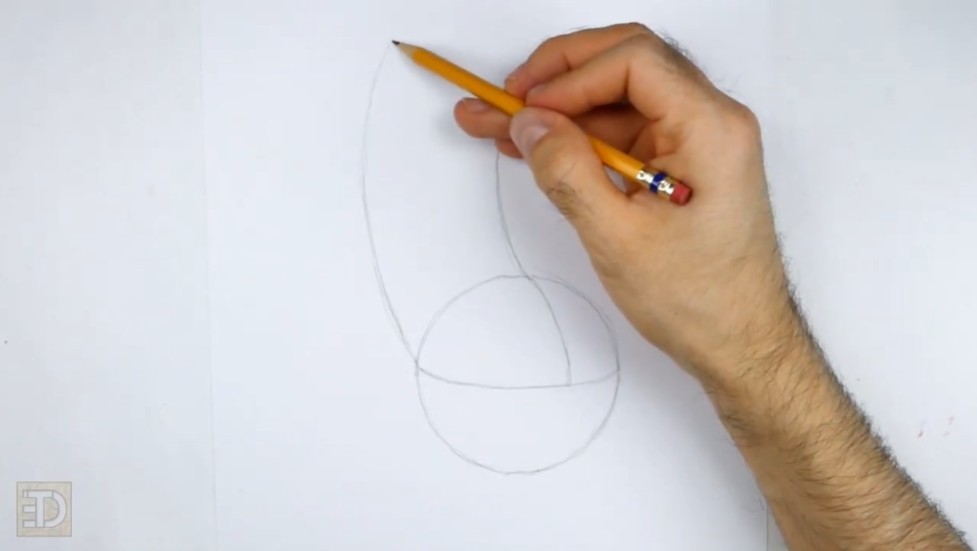
Step 1: Head and Construction Guides
- Draw the Base Circle: Begin by drawing a standard circle in the center of your page to serve as the head guide. To make this easier, make two small marks to indicate the height, two marks for the width, and connect them with curved lines. Alternatively, trace the outer edge of a circular object like a cup or a lid.
- Add Facial Guides: Inside the circle, draw a curved horizontal line across the middle. Then, draw a curved vertical line on the top-right side. These intersecting construction lines will help you place the facial features later.
- Draw the Ear Guides: At the top of the head, draw a long, curved vertical line for the first ear. This line should be about one and a half times the length of the circle. Starting on the left side of the circle, draw a second long, curved line to represent the other ear.
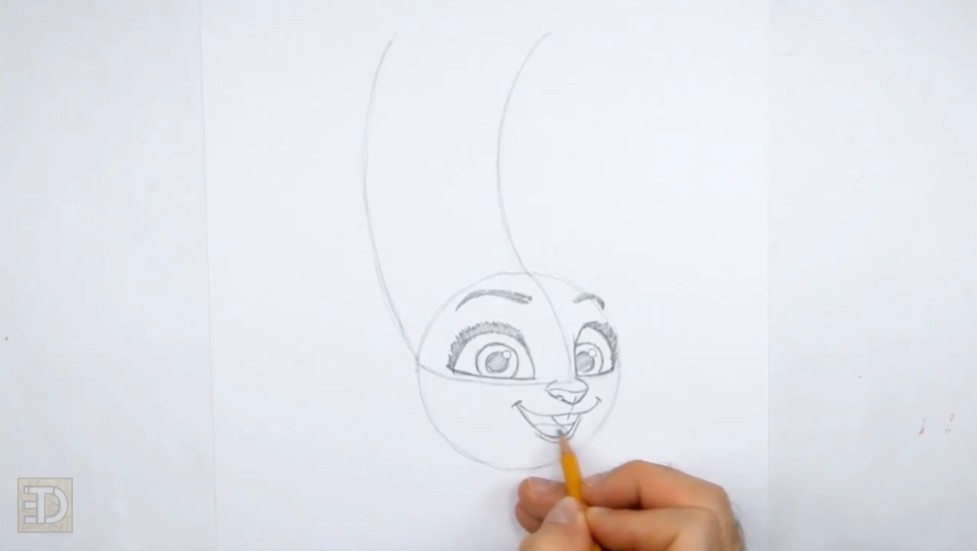
Step 2: Eyes and Brows
- Define the Eye Shapes: Lightly sketch a small half-circle for the first eye, resting it directly on top of the horizontal guide line and to the left of the vertical guide. To the right of the vertical guide, sketch a similar half-circle for the second eye. Make this right eye slightly thinner to account for the angle of the head.
- Ink the Eyelashes: Darken the eye shapes once you get the sizes and positions right. Above the left eye, create a thick, curved shape using short strokes to represent the eyelashes, then shade it in. Repeat this process for the right eye, drawing the dark eyelash shape primarily on the right edge.
- Add Irises and Pupils: Draw a small circle inside each eye for the iris. The right iris should sit close to the left edge of that eye. Inside each iris, add a tiny circle off to the side to act as a light highlight. Draw a slightly larger circle for the pupil, shading it darkly while leaving the tiny highlight circles completely white.
- Draw the Eyebrows: Above the left eye, close to the top edge of the head, sketch a long, thin eyebrow shape and shade it in. For the right eyebrow, draw a shorter shape directly on the path of the original head circle and shade it in.
Step 3: Nose and Mouth
- Form the Nose: Just below the area where the construction guides meet, lightly sketch a small V-shaped line. Darken the line, then add a small curved line at the bottom for the nostril. Draw a wavy line across the top, and add a couple of short accent lines on the bridge of the nose.
- Shape the Upper Mouth: Beneath the nose, draw a line that curves out to the left. On the right side, draw a shorter curved line to complete the upper part of the mouth.
- Open the Smile: Extend a long, curved line downward to create an open mouth, keeping the opening modest in size. Add a thin, curved lower lip just underneath. Inside the mouth, draw a curved line along the top edge for the teeth and a curved line at the bottom for the tongue.
Step 4: Ears and Facial Contour
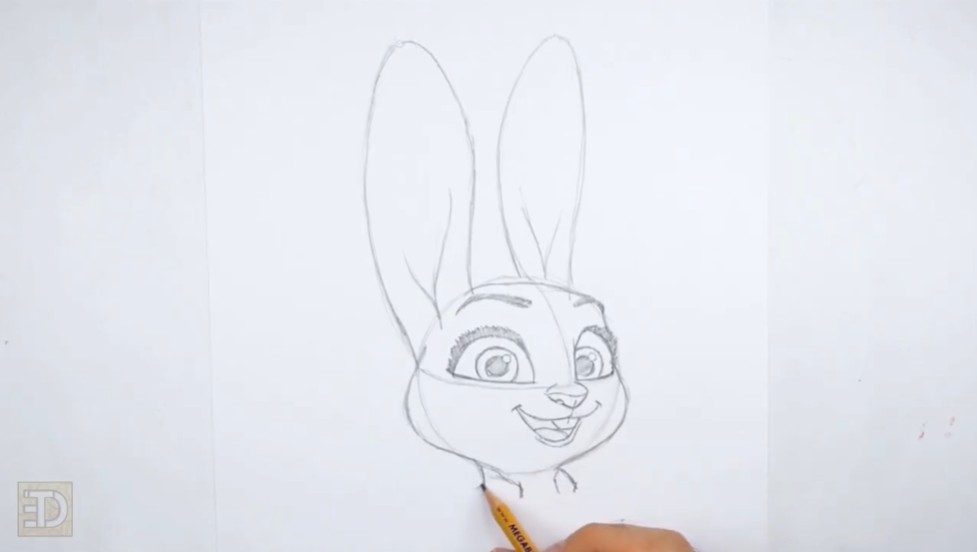
- Flesh Out the Ears: Darken the long guide line on the top-left side of the head and draw a parallel curved line to the right of it, making the middle section of the ear wide. Repeat this on the right side to complete both ear outlines. Inside each ear, draw a couple of shorter curved lines similar to the letter V to represent the ear openings.
- Shape the Head and Cheeks: Use the basic path of the initial circle as your reference to define the head. Flatten the top of the head slightly. On the bottom-right side, extend the line outward past the circle to create a more curved cheek. Do the same on the left side, widening the cheek beyond the initial circle, then curving both lines inward at the bottom.
The Finishing Touches
Now it's time to add the final sweeping details and bring Judy Hopps to life by coloring her in!
- Sketch the Neck and Collar: Draw a couple of short lines below the head for the neck. Add a few short, curved lines around the neck to represent the collar on her uniform shirt.
- Ink the Drawing: Go over your final lines slowly and carefully with a permanent ink pen or fine-liner to avoid accidents. Make these final lines darker than the initial guides.
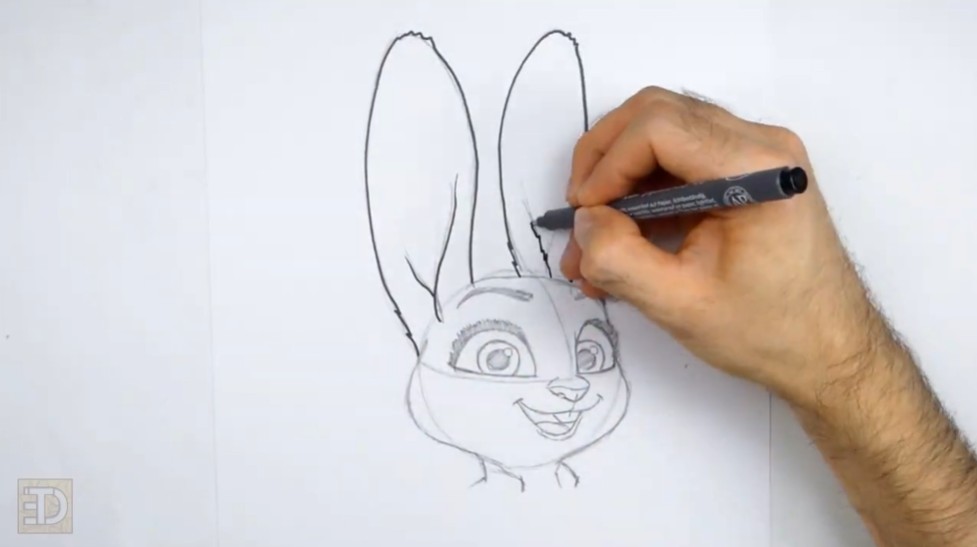
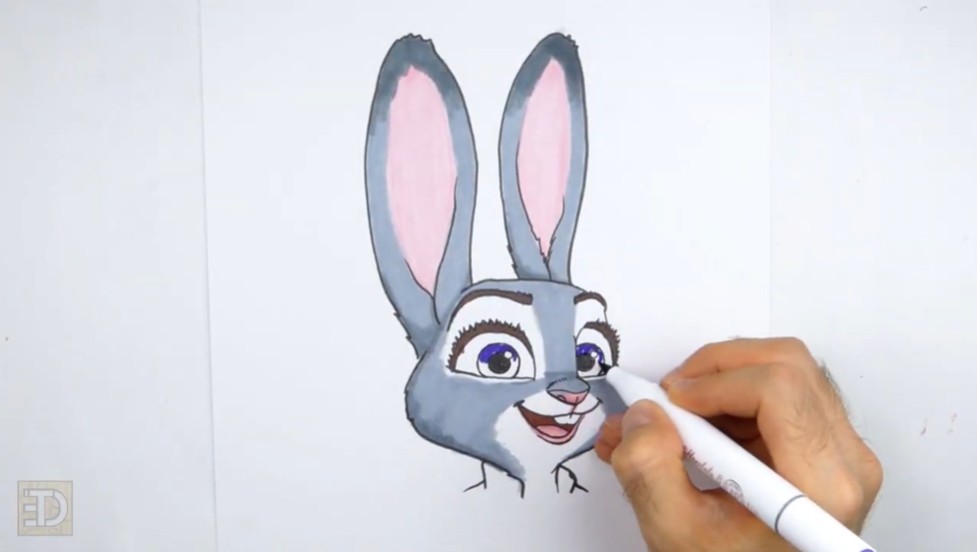
- Erase and Color: Erase all the pencil guides. Finally, color your drawing using your favorite markers or colored pencils!
Final Tips for Drawing Cartoon Characters
Improving your drawing skills takes practice and patience. Keep these techniques in mind:
- Sketch lightly before committing to final lines so mistakes are easy to erase.
- Use construction shapes to maintain correct proportions across the head and body.
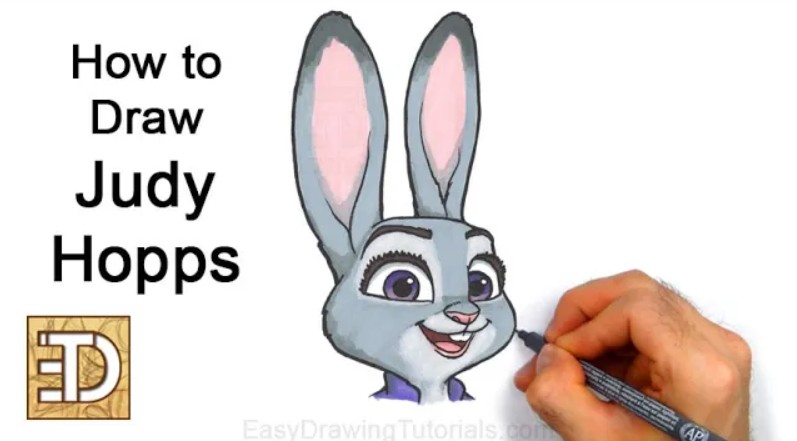
With consistent practice, drawing characters like Judy Hopps from Zootopia becomes much easier and enjoyable!
RELATED TUTORIALS
|
|
|
Thanks for visiting! Subscribe to the EasyDrawingTutorials YouTube Channel for a new tutorial every week.
To learn how to draw animals, visit How2DrawAnimals.com.